Some of you have been asking questions about the ideal render and video export settings below is one example of how to achieve a suitable video size and quality, there are however many ways to achieve similar standards.
1) Decide on the frame size you will render at AND STICK TO IT as it important that you stay consistent with this (1280 x 720 is a good standard)
2) Render as .avi and choose "uncompressed" as the compression setting
3) Import renders into Premier and edit scene as required
4) In the media encoder (Once you export the finished sequence) chose flv/f4v format and in the preset selection choose "F4V-HD 720p"
ADVICE - IT IS ALWAYS WORTH EXPERIMENTING WITH RENDERS AND SETTINGS BEFORE YOU GO AHEAD AND COMMIT TO A FORMAT. Do some test renders to see if the quality is good enough before wasting time doing renders you don't need!
Tuesday 5 April 2011
Tuesday 29 March 2011
Using Reactor
Rigid Bodies:
The most simple form of Reactor animation is done with a rigid body collection. As simple as it may be, there are still thousands of uses for such a set up.
Download the following from the downloads page:
MaxBowl.zip
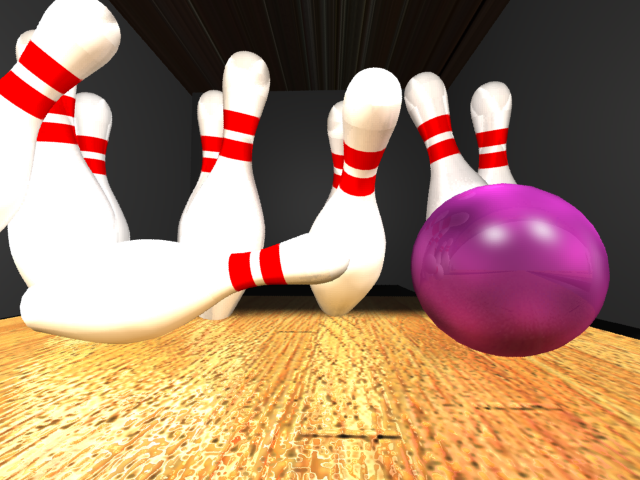
Convex or Concave?:
Animating Cloth:
The most simple form of Reactor animation is done with a rigid body collection. As simple as it may be, there are still thousands of uses for such a set up.
Download the following from the downloads page:
MaxBowl.zip
Convex or Concave?:
Animating Cloth:
Tuesday 22 March 2011
Animating with Morpher

Morpher is a modifier which alows you to create multiple instances of a model, each with a different movement or expression, and then store them in one place so that you can call upon them over and over again in your animation.
It is widely used to animate facial expressions in character animation and is really fun to do.
To get started please download the following files from the downloads page (beorangedesign.com/tutorials/3D)
head.obj
Morpher.zip
Tuesday 15 March 2011
Animating with Bones
Using bones to animate in a very flexible a re-usable tool. It saves time that you would have otherwise needed to spend constants moving and editing meshes. Here are two approaches to achieving this:
1) Download "Bones.zip" from the downloads page (Follow the link at the top right of the blog)
2) http://www.youtube.com/watch?v=MRikV-jTFfc (Slightly different approach)
1) Download "Bones.zip" from the downloads page (Follow the link at the top right of the blog)
2) http://www.youtube.com/watch?v=MRikV-jTFfc (Slightly different approach)
Tuesday 22 February 2011
Introduction to Cameras
Cameras are a simple and effective way to accurately specify what you need to show in your renders. The following link will guide you through the set up process and the modify process of using cameras.
Tuesday 15 February 2011
Introduction to Lighting
There are two types of basic light in 3D Studio Max.
Omni Light
A light which has no directional attribute and simply emits evenly from the source (like the sun)
Spot Light
This is a targeted or directional light which has a cone shaped beam it. You can customise the intensity of the beam and also the colour of it by using
Basic Lights Part 1
Basic Lights Part 2
Daylight System
Sometimes basic lighting just isn't good enough. This tutorial will show you how to set up a Daylight System with the Mental Ray renderer and Arc & Tech materials
http://www.youtube.com/watch?v=RnM-S_waF0M
Monday 7 February 2011
Introduction to Materials
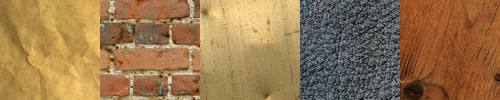
Materials are broken down into two basic areas:
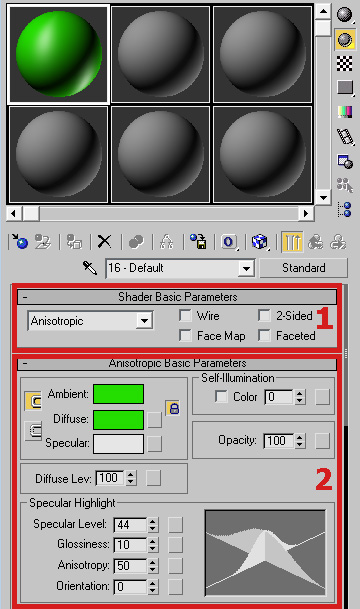
ShadersThis is the base of any material think of it as primer on top of which you would apply a paint. It can be matt or shiny depending on the desired look of the overall material.
The 'Paint'
This is not the official name for the top layer of the material, in fat there isn't a name for it as such. This can be thought of as the paint which is applyed to the primer (Shader). The top layer an be anything from a simple colour to an image or even video.
To access the material editor, simply press 'M' you can then select a channel and edit the settings. To apply a material, simply drap it on to the desired object.
Subscribe to:
Posts (Atom)